

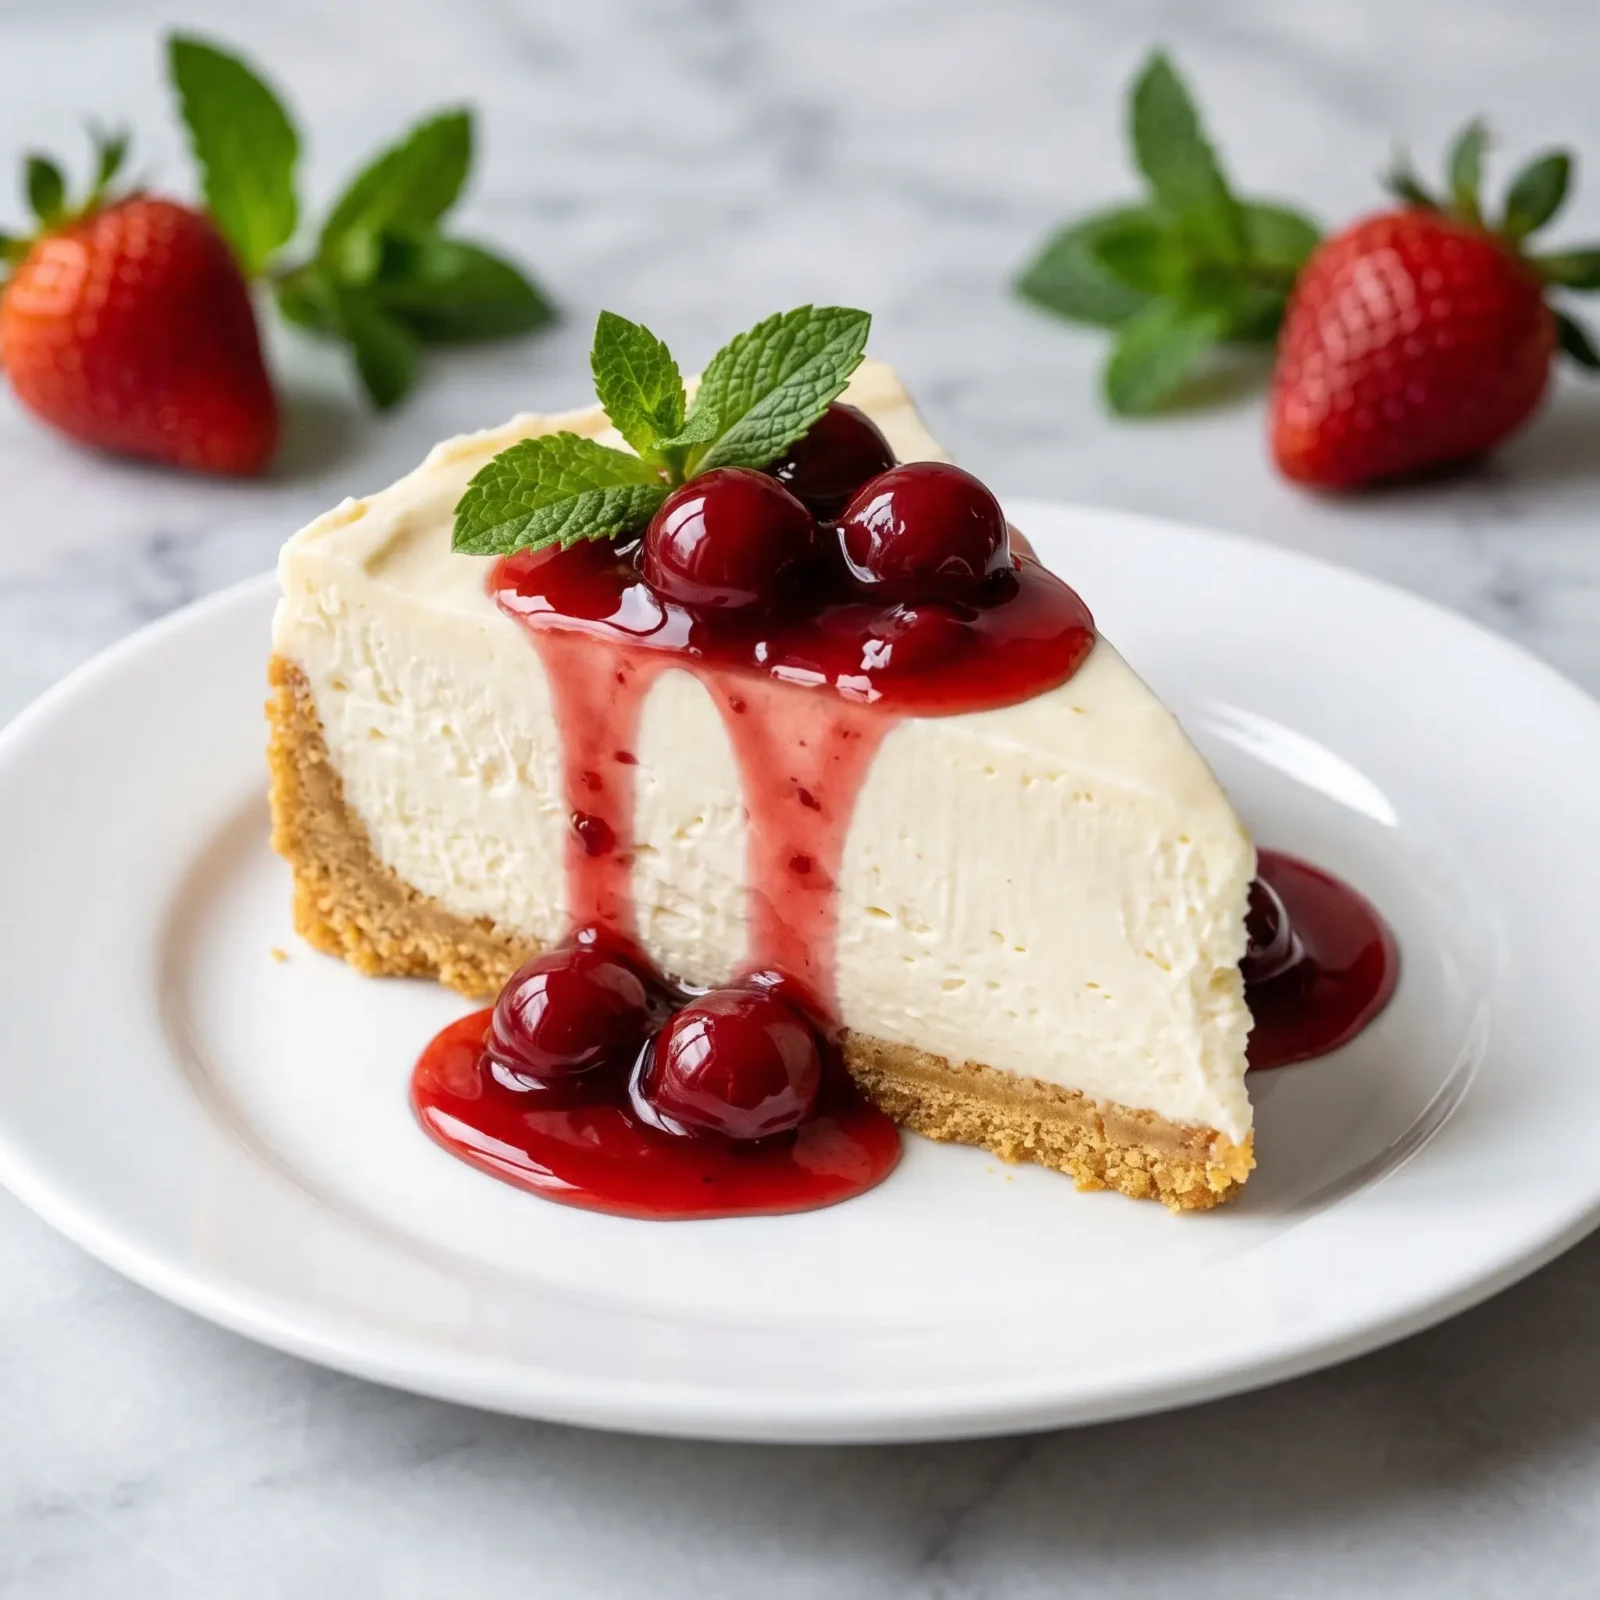
This Philadelphia No-Bake Cheesecake is proof that you don’t need to turn on the oven to make something this smooth, rich, and impressive. With a buttery graham cracker crust and a light, fluffy cream cheese filling, it comes together with about 45 minutes of hands-on work, then chills while you go about your day. It’s a dessert that looks like it took far more effort than it actually did.
I started making this the summer our oven broke in the middle of July, right when I’d promised to bring dessert to a backyard barbecue. I was sure I’d have to buy something store-bought instead, but a quick search turned up this no-bake method, and I was stunned by how close it came to a traditional baked cheesecake in both texture and flavor. Now I make it on purpose, even with a perfectly working oven, because honestly, it’s just easier.
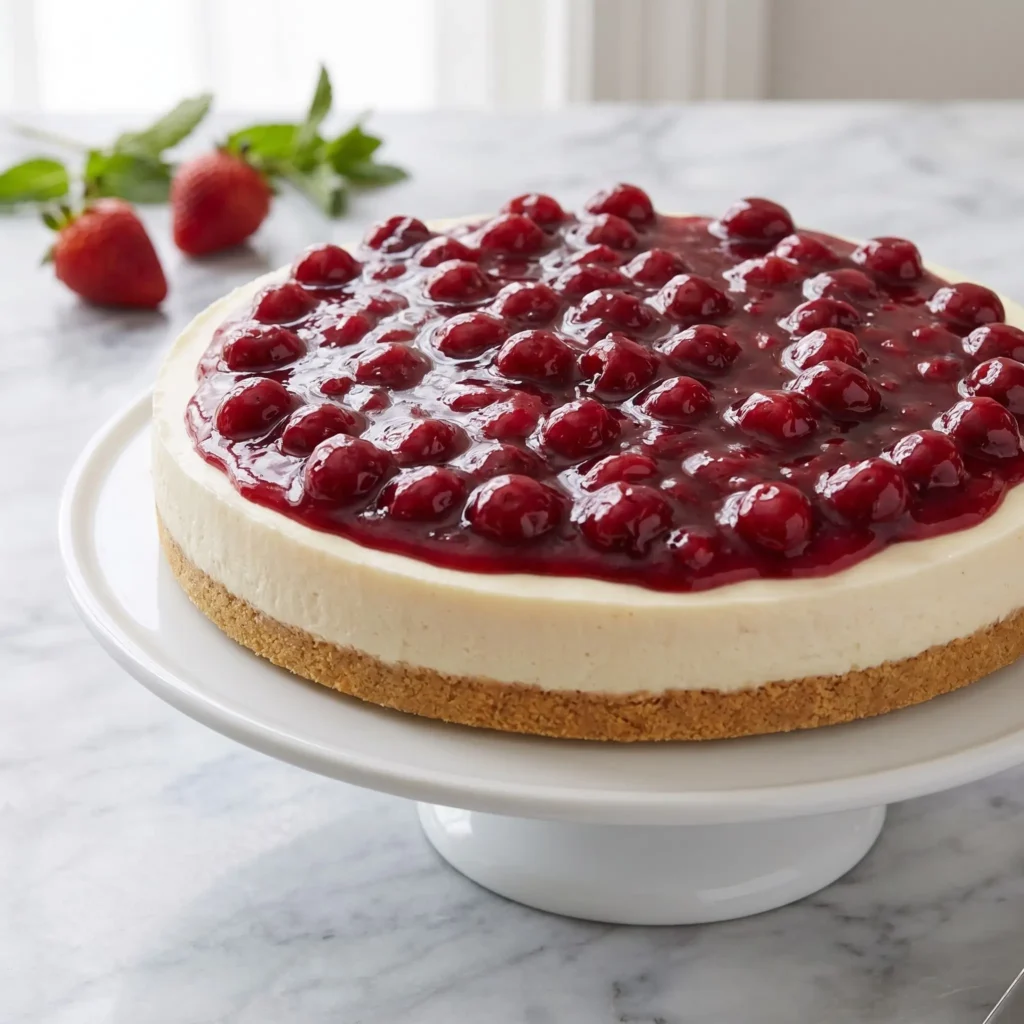
Why You’ll Love This Recipe
- No oven required: Perfect for hot summer days or when oven space is tight around the holidays.
- Light, fluffy texture: The whipped cream folded into the filling gives it a mousse-like consistency.
- Make-ahead friendly: Needs to chill for hours anyway, making it an ideal dessert to prepare the day before.
- Easy to customize: A simple base that’s easy to dress up with toppings depending on the occasion.
Ingredient Notes
This cheesecake relies on just a handful of ingredients, but a few details are worth knowing:
- Graham cracker crumbs: Crushed Oreos make a fun variation if you want a chocolate base instead of the classic graham crust.
- Philadelphia cream cheese: Make sure it’s fully softened at room temperature, about 45 minutes, so it beats smoothly without lumps.
- Powdered sugar: Adjust the amount based on your sweetness preference — start on the lower end and taste as you go.
- Lemon juice: Optional, but it brightens the overall flavor and helps balance the richness of the cream cheese.
- Heavy whipping cream: Can be substituted with about 8 ounces of whipped topping if you want to skip the whipping step entirely.
Step-by-Step Instructions
Preparation of Crust
- Mix the crust. Combine the graham cracker crumbs with melted butter and optional sugar until the mixture resembles damp sand.
- Press and chill. Press the mixture firmly into a 9-inch springform pan or pie dish, then refrigerate it while you prepare the filling.
Filling Preparation
- Whip the cream. If using heavy cream, whip it until stiff peaks form. If using whipped topping instead, skip this step.
- Beat the cream cheese. In a large bowl, beat the softened Philadelphia cream cheese until smooth and free of lumps.
- Add the flavoring. Mix in the powdered sugar, vanilla, lemon juice if using, and a pinch of salt. Beat until the mixture is creamy and thick.
- Fold in the whipped cream. Gently fold the whipped cream into the cream cheese mixture, just until combined — folding gently keeps the filling light and fluffy instead of deflating it.
Assembly
- Fill the crust. Spoon the filling into the prepared crust and smooth the top with a spatula.
- Chill. Cover and refrigerate for at least 6 hours, preferably overnight, to let the cheesecake fully set.
Serving
- Add toppings. Top with fresh berries, chocolate shavings, or your favorite toppings just before serving.
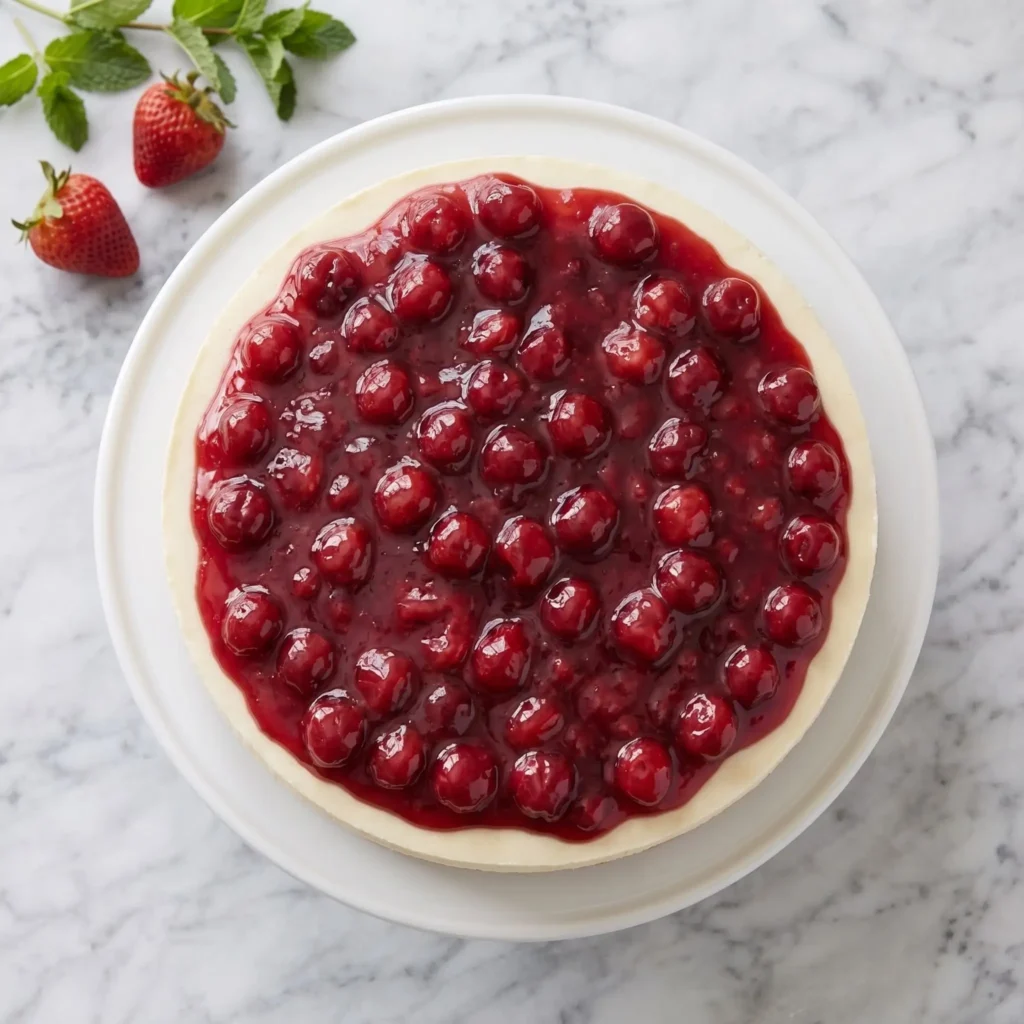
Tips & Tricks
- Make sure the cream cheese is fully softened. Cold cream cheese leads to a lumpy filling no matter how long you beat it.
- Fold gently, don’t stir. Overmixing the whipped cream into the base deflates the air you worked to incorporate, resulting in a denser filling.
- Don’t rush the chilling time. The full 6 hours (or overnight) is what allows the cheesecake to set properly and slice cleanly.
- Press the crust firmly. A loosely packed crust is more likely to crumble apart when you slice and serve.
Variations & Substitutions
- Chocolate crust: Swap graham cracker crumbs for crushed Oreos for a chocolate cookie base.
- Fruit swirl: Swirl fruit preserves or a berry sauce through the filling before chilling for a marbled look.
- Citrus twist: Add extra lemon zest to the filling for a brighter, more pronounced citrus flavor.
- Mini servings: Divide the crust and filling into individual cups or jars for an easy make-ahead, portioned dessert.
Serving Suggestions
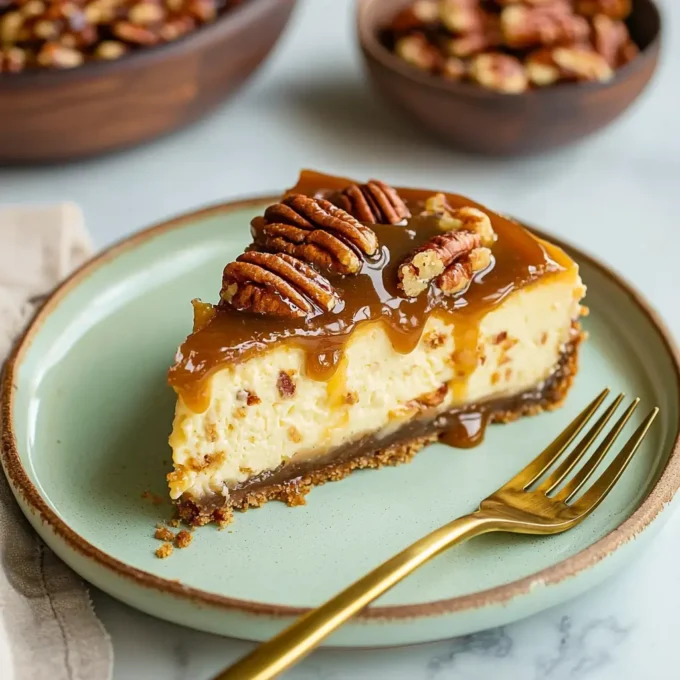
This cheesecake is a natural fit for warm-weather gatherings, potlucks, or holiday dessert tables since it requires no oven time. Serve it with fresh berries and a light dusting of powdered sugar, or add a drizzle of chocolate or caramel sauce for something richer. A hot cup of coffee pairs especially well with the tangy sweetness of the filling.
Storage & Reheating
Store the cheesecake covered in the refrigerator for up to 5 days. This dessert isn’t meant to be reheated — it’s always served chilled. For longer storage, the cheesecake (without toppings) can be frozen for up to 1 month; thaw it overnight in the refrigerator before serving.
Nutrition Information
Approximate values per serving, based on 8 servings:
- Calories: 300
- Protein: Low to moderate
- Fat: Moderate to high (cream cheese and whipped cream)
- Carbohydrates: Moderate (graham cracker crust and sugar)
Exact nutritional values will vary depending on the specific brands and ingredients you use, and any toppings added.
Frequently Asked Questions
Can I use whipped topping instead of heavy cream?
Yes, about 8 ounces of whipped topping can replace the heavy whipping cream, which also skips the need to whip it yourself.
Why is my filling runny?
This usually happens if the cream cheese wasn’t fully softened before mixing, or if the whipped cream wasn’t whipped to stiff peaks before folding it in. Make sure both components are properly prepared before combining.
Can I make this cheesecake ahead of time?
Yes, this cheesecake is ideal for making ahead, since it needs at least 6 hours to chill anyway. It can be made up to 2 days in advance and stored in the refrigerator until ready to serve.
Can I use a store-bought crust?
Yes, a pre-made graham cracker crust works as a convenient shortcut if you’d rather skip making the crust from scratch.
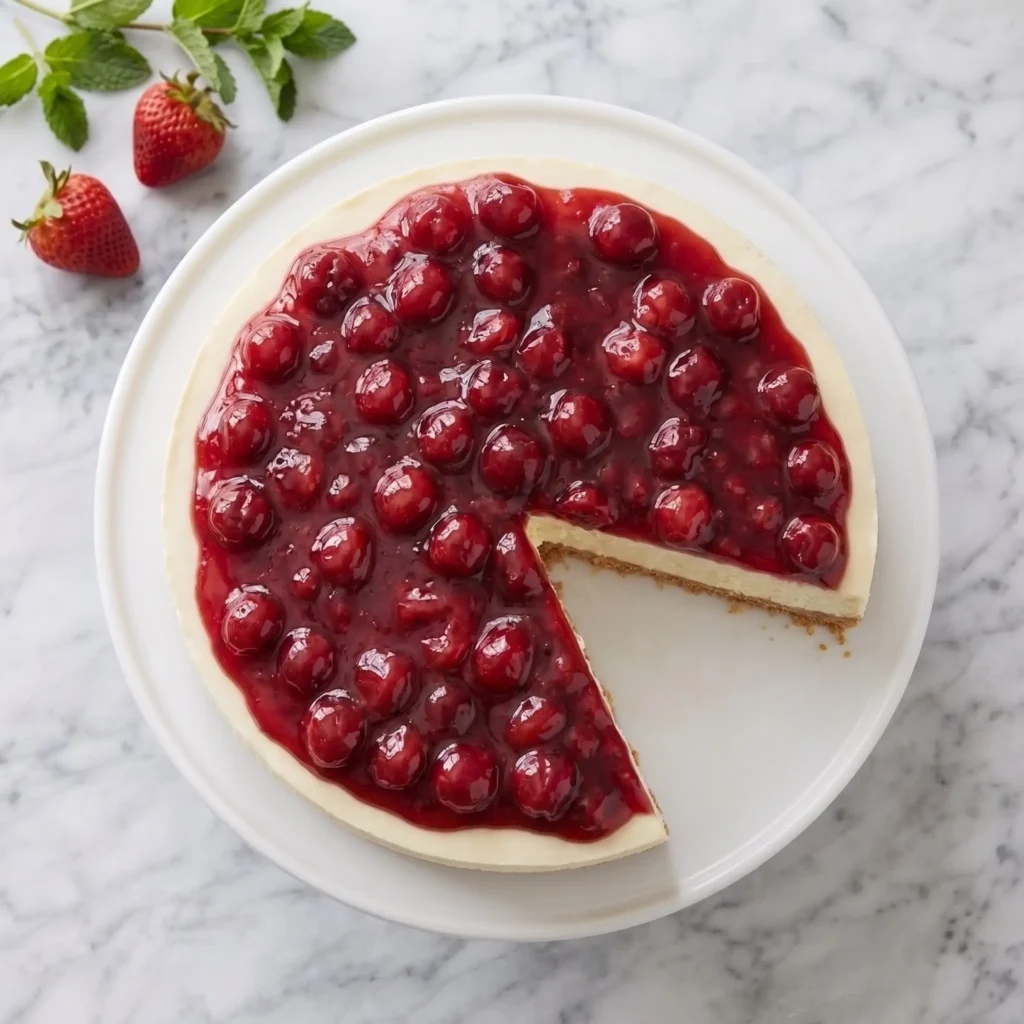
How do I get clean slices?
Use a sharp knife and wipe it clean between each cut. Dipping the knife in warm water before slicing can also help create smoother, cleaner edges.
Final Thoughts
This Philadelphia No-Bake Cheesecake is the kind of dessert that earns compliments without demanding much from you in the kitchen. Give it a try for your next gathering, and let me know in the comments what toppings you chose.
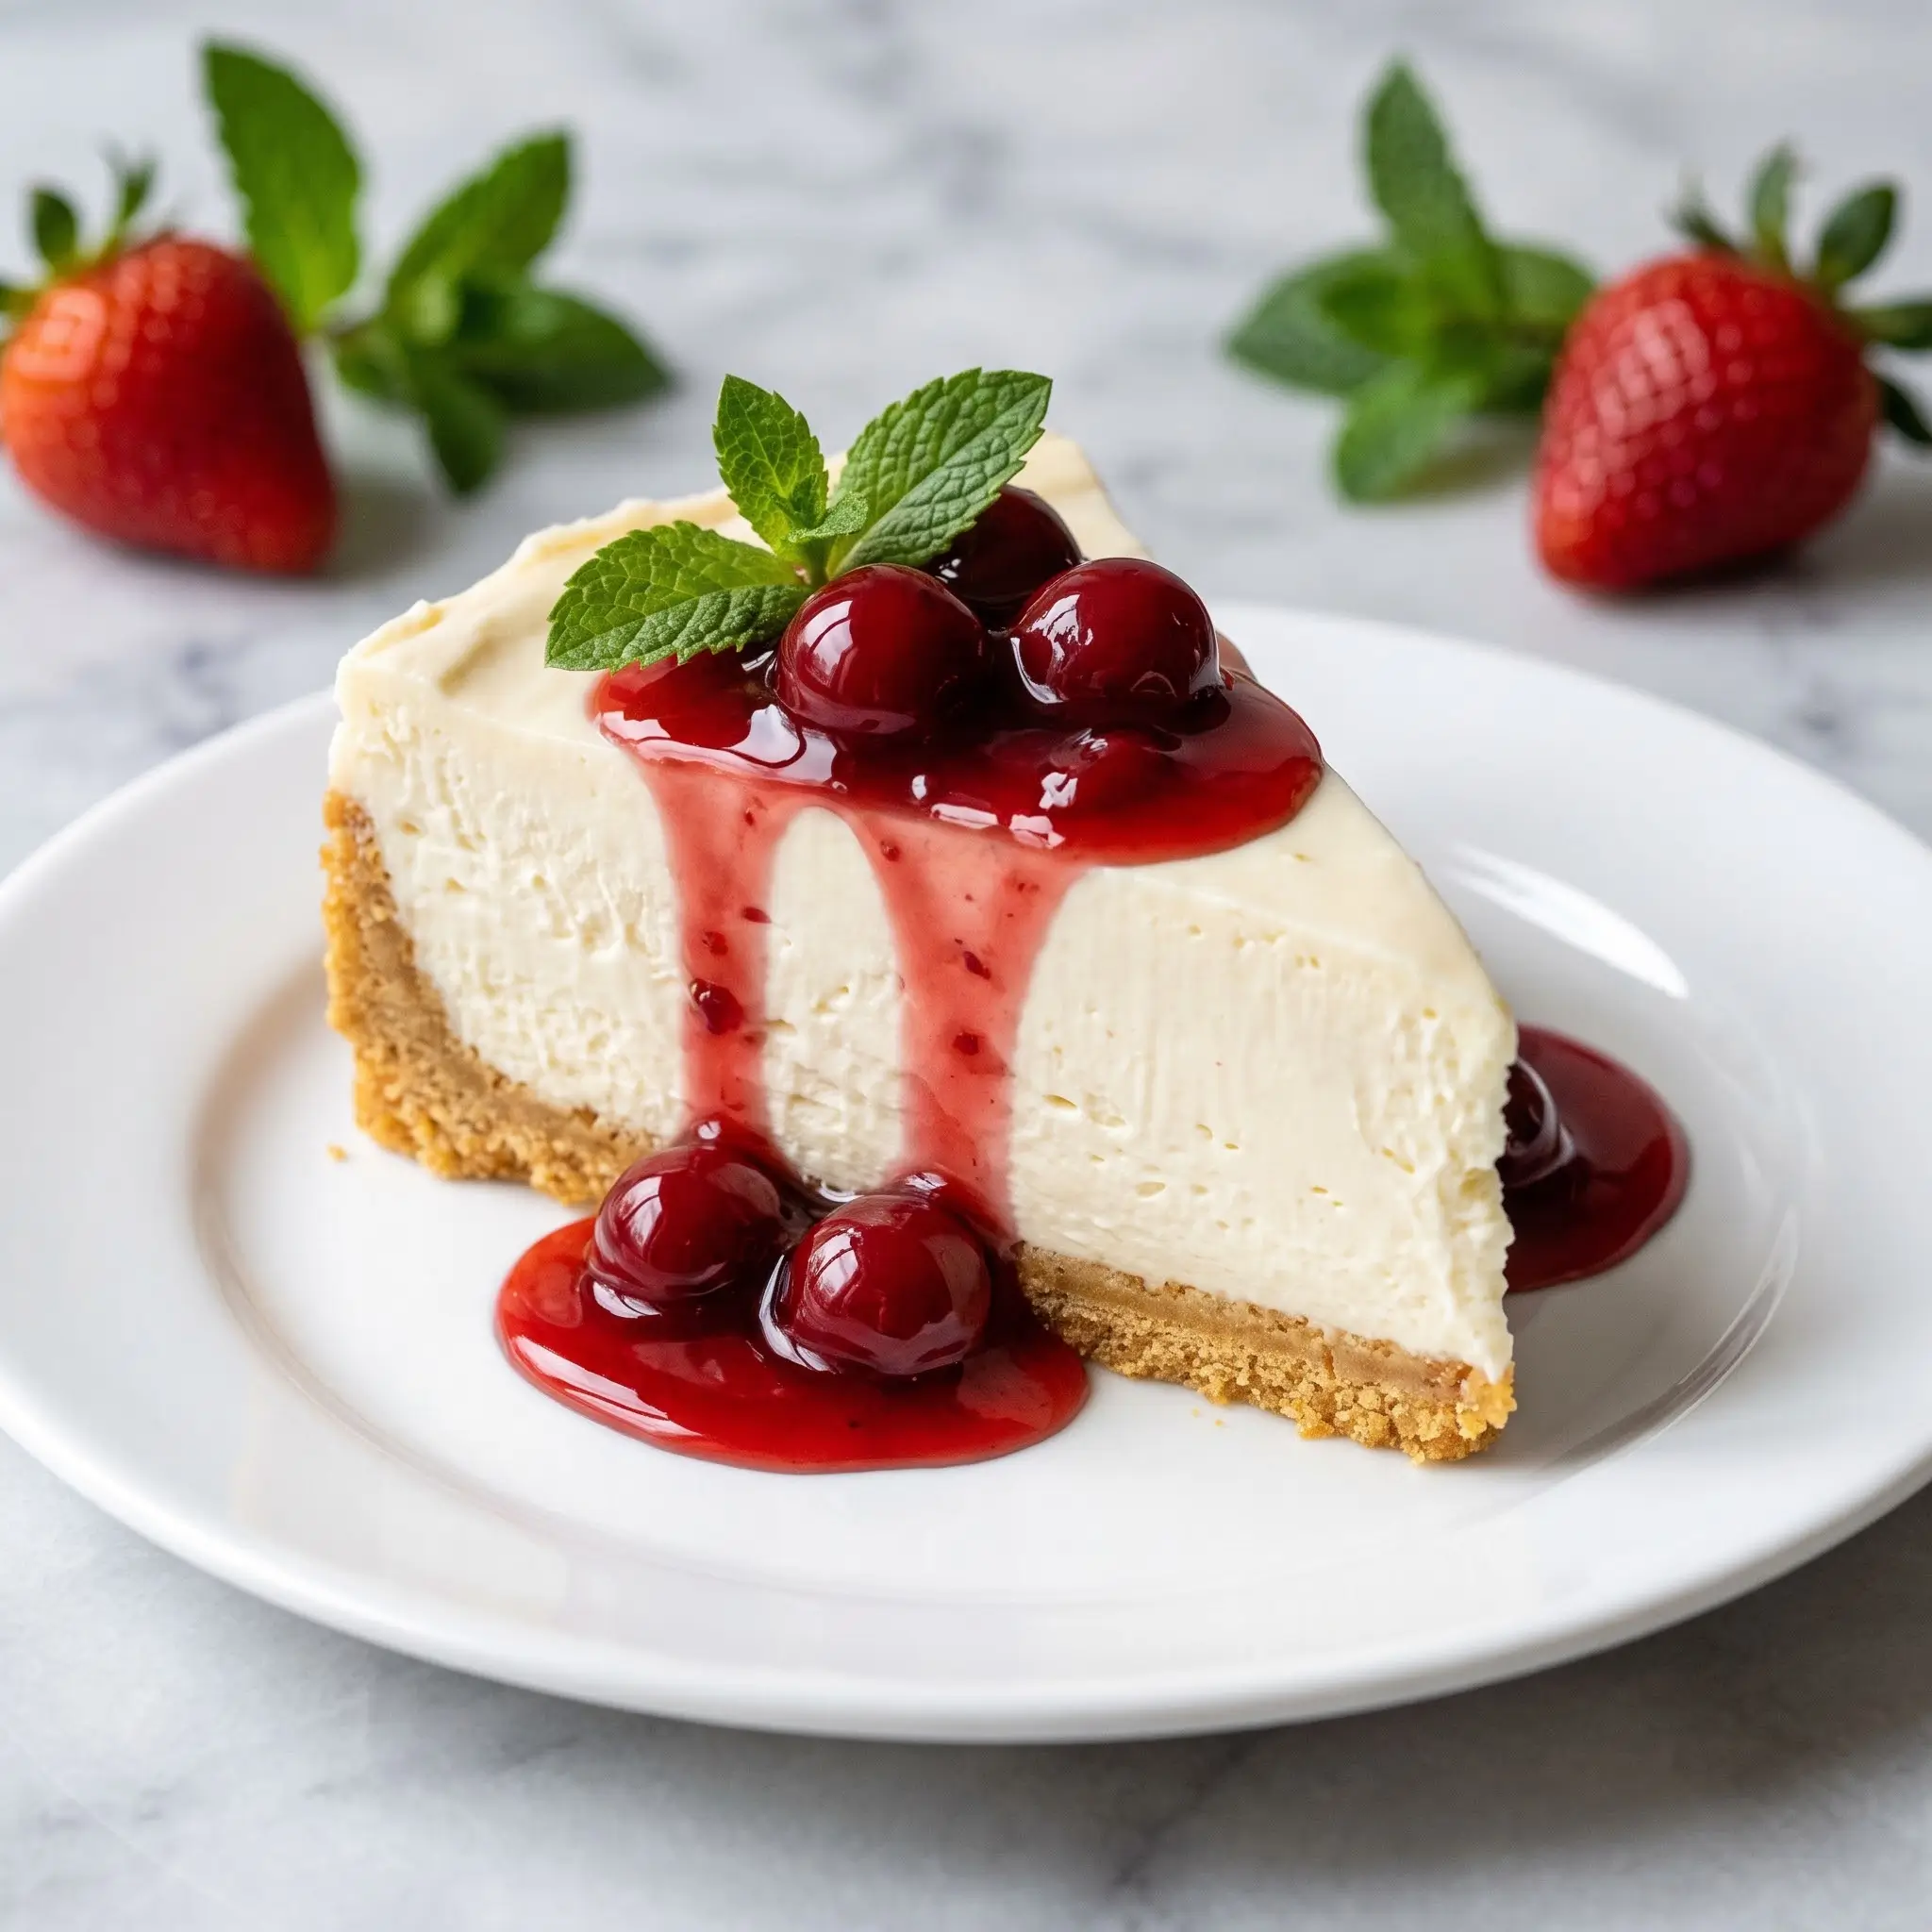
Philadelphia No-Bake Cheesecake
Ingredients
Instructions
- Mix graham cracker crumbs with melted butter and optional sugar until it resembles damp sand.
- Press the mixture firmly into a 9-inch springform pan or pie dish and refrigerate while preparing the filling.
- If using heavy cream, whip it until stiff peaks form. If using whipped topping, skip this step.
- In a large bowl, beat the softened Philadelphia cream cheese until smooth.
- Add the powdered sugar, vanilla, lemon juice (if using), and a pinch of salt. Beat until creamy and thick.
- Fold in the whipped cream gently until just combined to maintain fluffiness.
- Spoon the filling into the prepared crust and smooth the top.
- Cover and refrigerate for at least 6 hours, preferably overnight.
- Top with fresh berries, chocolate shavings, or your favorite toppings just before serving.



Leave a comment